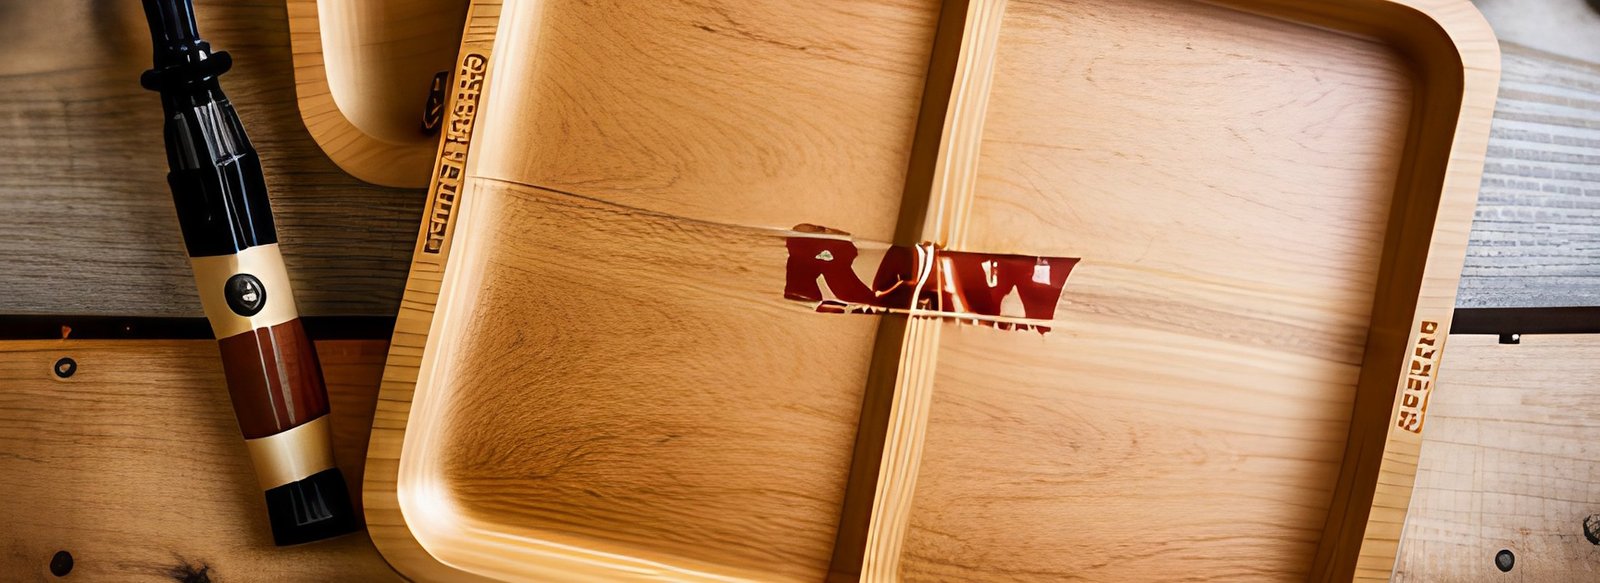
Looking to elevate your rolling game beyond the basic metal tray? Craving a personalized touch that reflects your unique style? Then step aside, store-bought trays, because we’re diving into the world of DIY custom rolling trays with pictures!
Roll On, Artfully: Create Your Own Custom Rolling Tray with Pictures
This creative project lets you express yourself while adding functionality to your smoking routine. Plus, it’s an excellent gift idea for the art-loving smoker in your life. So, gather your supplies, unleash your inner artist, and get ready to roll up something special.
Materials:
✥ Base tray: Choose a sturdy, flat surface like a wooden plaque, ceramic tile, or even a repurposed serving platter.
✥ Image(s): This is where your personalization shines! Opt for printed photos, magazine clippings, artwork, or even fabric scraps. Just ensure the image is copyright-free if using printed material.
✥ Mod Podge: This trusty decoupage medium acts as your picture glue and protective sealant.
✥ Foam brush: Apply the Mod Podge smoothly and evenly.
✥ Scissors (optional): If using magazine clippings or fabric, you’ll need to cut them to size.
✥ Clear coat (optional): For added durability and a glossy finish.
Step-by-Step Guide:
-
Prep your base: Clean the surface thoroughly with a damp cloth and let it dry completely. If using wood, consider sanding for a smoother finish.
-
Arrange your image(s): Play with the layout on your base to find the perfect composition. You can go for a single central image, a collage, or even layered designs.
-
Apply Mod Podge: Using your foam brush, spread a thin, even layer of Mod Podge onto the area where you’ll place your picture(s).
-
Attach the image(s): Carefully lay your picture(s) onto the Mod Podge, smoothing out any air bubbles as you go.
-
Seal the deal: Apply another layer of Mod Podge over the entire image(s) and base, ensuring everything is well-coated. Let it dry completely, following the instructions on your Mod Podge bottle.
-
Go glossy (optional): Once the Mod Podge is dry, apply a thin layer of clear coat for extra protection and shine. Again, let it dry completely before handling.
Pro Tips:
- For magazine clippings: Use a thicker piece of paper or cardboard as backing to prevent the image from tearing.
- With fabric scraps: Seal the edges with fray check to prevent unraveling.
- Consider adding embellishments: Glitter, dried flowers, or small stones can add a unique touch.
- Get creative! Experiment with different textures, patterns, and color combinations.
Showcase Your Masterpiece:
Your one-of-a-kind rolling tray is ready to roll! Use it with pride and impress your smoking buddies with your artistic flair. It’s also a conversation starter, guaranteed to spark curiosity and admiration.
Remember, this is just a basic guide. Feel free to adapt and personalize the process to match your vision. So, grab your supplies, channel your inner artist, and get rolling on your custom picture tray!
Beyond the Blog:
For more inspiration and detailed tutorials, check out these amazing resources:
- YouTube: A treasure trove of DIY rolling tray video tutorials cater to various styles and techniques.
- Pinterest: Discover a plethora of stunning custom rolling tray ideas to fuel your creativity.
- Craft stores: Visit your local craft store for a hands-on experience and expert advice on materials and techniques.
With a little imagination and effort, you can transform a simple tray into a work of art that reflects your personality and enhances your smoking ritual. So, roll up your sleeves, unleash your creativity, and get ready to impress with your personalized picture rolling tray!


