Creating a personalized rolling tray can add a touch of individuality and style to your smoking experience. Whether you’re a seasoned enthusiast or a casual participant, a custom rolling tray serves not just as a functional accessory but also as a reflection of your personality. In this blog post, we’ll explore the various aspects of personalized rolling trays – from design options to DIY tips – to help you create a piece that’s uniquely yours.
Why Personalize a Rolling Tray?
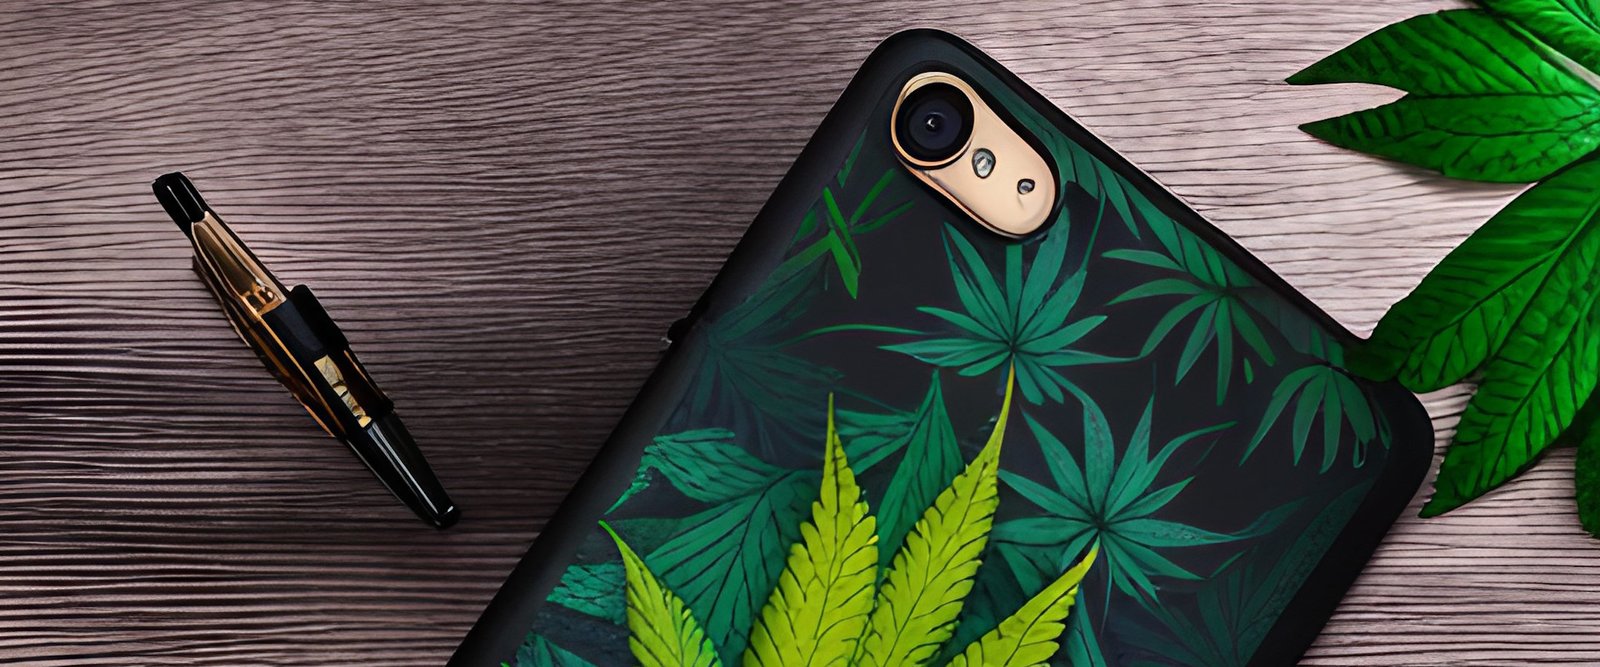
A personalized rolling tray is more than just a utility item; it’s a statement piece. It can reflect your interests, aesthetics, or even a particular theme. Personalization also makes for great gifts, offering a unique and thoughtful item for friends or loved ones who appreciate the culture.
Design Ideas
When it comes to designing your rolling tray, the possibilities are endless. Here are a few ideas to get you started:
- Themes: Choose a theme that resonates with you. This could be anything from your favorite color scheme, patterns, or imagery related to hobbies, music, or art.
- Monograms and Names: Adding your name, initials, or a special date can make your tray genuinely personal and unique.
- Art and Illustrations: From abstract art to detailed illustrations of your favorite characters or landscapes, your tray can become a canvas for your creativity.
- Functional Design: Think about adding compartments or features that enhance the tray’s usability, such as slots for rolling papers or a holder for your lighter.
Materials and Tools
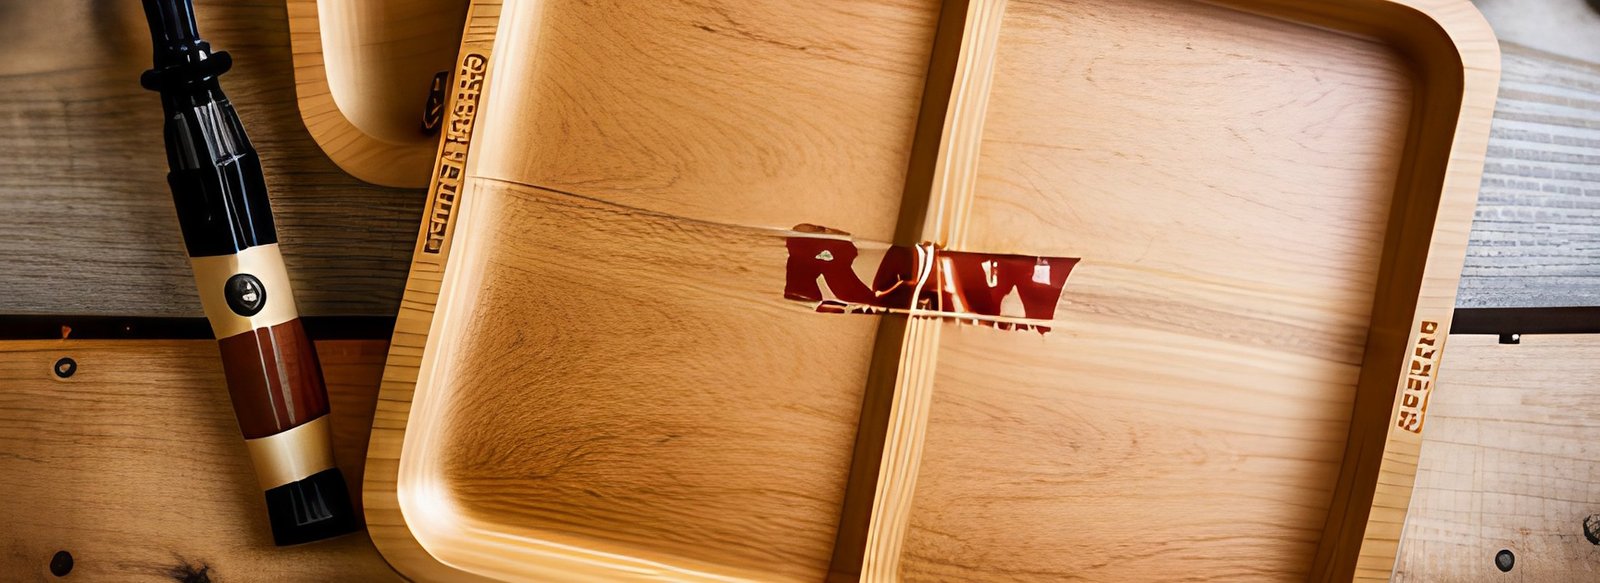
The choice of materials can greatly affect the look and feel of your rolling tray. Common materials include wood, metal, and plastic. Each has its benefits, depending on the desired aesthetic and durability. You’ll also need some basic tools and supplies, such as:
- Paints and brushes
- Adhesive vinyl for decals
- Epoxy resin for a glossy finish
- Sandpaper, if you’re working with wood, to smooth out the surface before decorating
DIY Tips
Creating your personalized rolling tray can be a rewarding project. Here are some tips to help you get started:
- Plan Your Design: Sketch out your design before you start. This will help you visualize the end product and make adjustments before applying anything permanent.
- Prepare Your Surface: Ensure the tray is clean and smooth. If you’re painting, apply a primer to help the paint adhere better and last longer.
- Apply Your Design: Whether you’re painting, applying decals, or using other materials, take your time to apply your design carefully. Patience is key to a professional-looking finish.
- Seal the Deal: Once your design is complete and dry, consider sealing it with a clear coat of sealant or epoxy resin. This will protect your design from wear and tear, making it durable.
Inspiration
Look for inspiration everywhere. Social media platforms like Pinterest and Instagram are treasure troves of creative ideas. Art, nature, fashion, and even your personal experiences can spark the perfect concept for your rolling tray.
Conclusion
A personalized rolling tray is more than just a convenience; it’s a form of self-expression. By selecting a theme that speaks to you, choosing the right materials, and applying your design with care, you can create a rolling tray that’s not only functional but also a reflection of your personal style. Whether you opt for a DIY project or commission a custom piece, the result is a unique accessory that adds a personal touch to your routine. Happy crafting!