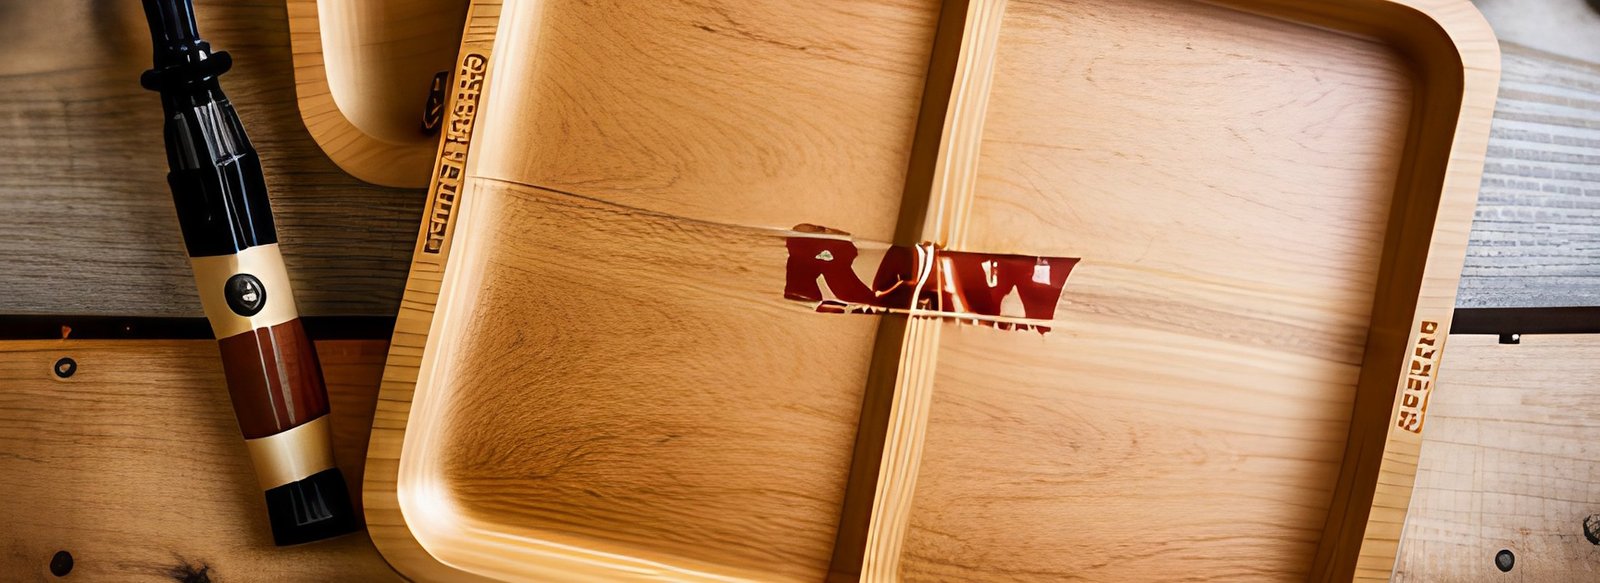
Rolling trays are essential accessories for any cannabis enthusiast or smoker. They provide a dedicated space to neatly organize rolling papers, lighters, herbs, and other paraphernalia, making the rolling process more efficient and enjoyable. While you can easily purchase rolling trays, there’s something special about crafting your own from scratch. In this guide, we’ll walk you through the process of making a wood rolling tray, offering a satisfying DIY project that combines functionality with creativity.
Materials Needed:
- Choice of Wood: Opt for hardwood like oak, maple, cherry, or walnut for durability and aesthetics.
- Saw: Hand saw or power saw for cutting the wood to size.
- Sandpaper: Varying grits for smoothing out rough edges and surfaces.
- Wood Stain or Paint (Optional): To add color and enhance the appearance of the rolling tray.
- Wood Finish: Polyurethane, tung oil, or similar finish for protection and sheen.
- Brushes or Cloth: For applying stain, paint, and finish.
- Pencil and Ruler: For sketching the design and marking measurements.
- Protective Gear: Gloves, goggles, and a mask for safety during cutting and sanding.
how to make a wood rolling tray
Step 1: Design and Measurement Begin by sketching out the design of your rolling tray on the wood plank using a pencil and ruler. Consider the size and compartments you want to include based on your preferences. Common features include a main rolling area, slots for holding papers, and compartments for storing herbs and accessories. Once you have a clear design, measure and mark the dimensions accurately on the wood plank.
Step 2: Cutting the Wood Using a saw, carefully cut along the marked lines to shape the wood plank into your desired rolling tray design. Take your time and ensure precise cuts to achieve clean edges. If you’re not confident with cutting wood, you can also ask for assistance or have the wood cut at a hardware store according to your specifications.
Step 3: Sanding After cutting, use sandpaper to smooth out the edges and surfaces of the wood. Start with a coarse grit sandpaper to remove any rough spots or imperfections, then gradually move to finer grits for a smoother finish. Be sure to sand both the front and back surfaces as well as the edges of the rolling tray to achieve a professional-looking result.
Step 4: Finishing Touches Once the wood is sanded to your satisfaction, you can choose to apply a wood stain or paint to add color and enhance the appearance of the rolling tray. Alternatively, you can leave the wood natural for a rustic look. Allow the stain or paint to dry completely according to the manufacturer’s instructions.
Step 5: Apply Wood Finish To protect the wood and give it a polished look, apply a wood finish such as polyurethane or tung oil using a brush or cloth. Make sure to coat the entire surface of the rolling tray evenly and let it dry thoroughly between coats. Multiple coats may be necessary to achieve the desired level of protection and sheen.
Step 6: Final Assembly Once the wood finish is dry, your homemade rolling tray is ready for use. Arrange your rolling papers, grinder, lighter, and other accessories neatly in the compartments and enjoy the satisfaction of using a custom-made creation every time you roll up.
Conclusion
Crafting a wood rolling tray is not just a DIY project; it’s a journey of self-expression and creativity. By following this step-by-step guide, you can transform a simple piece of wood into a functional and aesthetically pleasing accessory that complements your smoking ritual. So, gather your materials, unleash your imagination, and embark on the fulfilling endeavor of making your own wood rolling tray. With each roll, you’ll appreciate the craftsmanship and personal touch that went into its creation. Happy crafting!