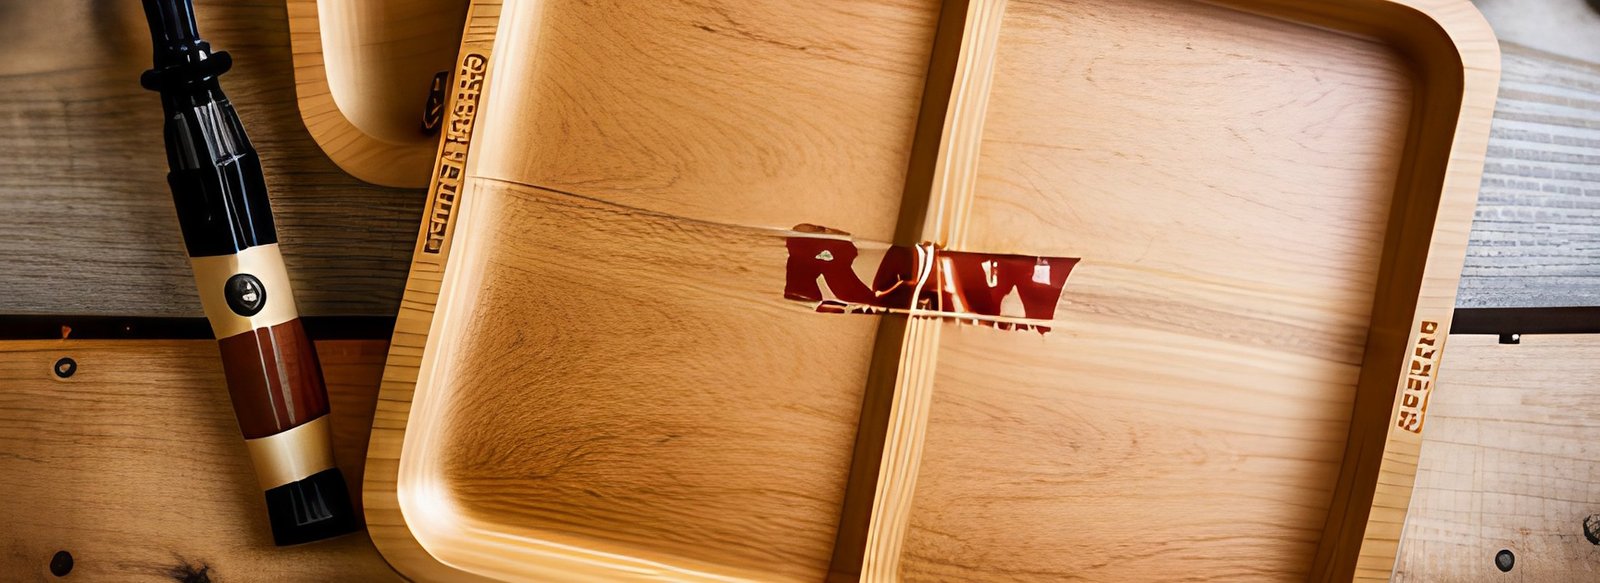
Roll Your Own Way: A Guide to Crafting the Perfect Rolling Tray
Rolling trays might seem like a simple stoner accessory, but the right one can elevate your entire smoking experience. Not only do they keep your herbs and tools organized, but they also add a touch of personality to your ritual. Plus, who wouldn’t want a tray that reflects their unique style?
Whether you’re a seasoned roller or just starting, crafting your own tray is a fun and rewarding project. It’s a chance to get creative, express yourself, and end up with a one-of-a-kind piece that’s as functional as it is beautiful.
Gathering Your Supplies
Before you dive in, let’s gather the essentials:
- The Base: This is the foundation of your tray, so choose wisely! Popular options include wood, metal, ceramic, or even repurposed items like cookie sheets or serving platters. Consider size, shape, and durability when making your selection.
- Decorative Materials: This is where your creativity takes center stage! Paint, glitter, fabric, vinyl stickers, dried flowers, and resin are just a few possibilities.
- Tools: Depending on your project, you might need sandpaper, paintbrushes, glue, scissors, an X-ACTO knife, or a heat gun.
Basic Techniques for Beginners
✧ Painting: A classic and easy way to personalize your tray. Use acrylic paints for vibrant colors or spray paint for a smooth finish. Don’t forget to seal your artwork with a clear coat for protection!
✧ Decoupaging: Cut out designs from patterned paper or fabric and adhere them to your tray using decoupage glue. This is a great way to add intricate details without needing artistic skills.
✧ Vinyl Stickers: Pre-made vinyl stickers offer endless design possibilities. Simply choose your favorites and stick them on!
Beyond the Basics: Stepping Up Your Craft
For the more adventurous crafters, here are some ideas to take your tray to the next level:
Resin Pouring: Create stunning layered effects with resin. Add dried flowers, glitter, or small objects for an extra touch of magic.
Woodburning: If you’re handy with a woodburning tool, you can create intricate designs or even portraits on your wooden tray.
Mosaic Tiling: Break up old dishes or tiles and use them to create a unique mosaic pattern on your tray.
Remember:
✲ Safety First: When working with paints, resins, or other chemicals, always wear gloves and follow safety instructions.
✲ Sealing is Crucial: No matter what decorative technique you choose, make sure to seal your tray with a clear coat to protect it from wear and tear.
✲ Let Your Creativity Flow: Don’t be afraid to experiment and have fun! There are no rules when it comes to crafting your own rolling tray.
Rolling in Style
With a little effort and imagination, you can create a rolling tray that’s as unique as you are. So grab your supplies, channel your inner artist, and get ready to roll in style!
Bonus Tips:
❉ For an extra personal touch, add a monogram or your initials to your tray.
❉ Make it a gift! A handmade rolling tray is a thoughtful and unique present for any smoker.
❉ Don’t forget the accessories! Rolling papers, grinders, lighters, and cleaners can all be stored on your tray for easy access.
With these tips and tricks, you’re well on your way to crafting the perfect rolling tray. So get started, get creative, and enjoy the process!


